Root Rot in Houseplants : How to Spot It Early, Save the Plant, and Prevent It for Good
By Ashley Chalmers | Published on July 28, 2026
Key Takeaways
- Root rot is not just “too much water” it’s roots sitting in low-oxygen, wet conditions long enough to die, often followed by fungal/oomycete infection that spreads through weakened tissue.
- Yellow leaves and wilting can mean many things. The only way to confirm root rot is to inspect the roots.
- The best long-term prevention is a three-part system: correct pot size + fast-draining mix + watering based on soil dryness at depth (not a calendar).
In This Article
What Root Rot Actually Is (and Why It Happens Indoors)
Healthy roots need oxygen. When potting mix stays wet for too long, air spaces fill with water and roots essentially “suffocate.” Once root tissue is damaged, opportunistic microbes (commonly including Pythium/Phytophthora-type organisms and other fungi) colonize the dying roots and the rot accelerates.
Indoors, root rot is more common because :
- Pots limit evaporation compared to open ground
- Light is weaker (soil dries more slowly)
- People often water on a schedule instead of by soil condition
- Many decorative planters trap runoff, keeping roots wet
The Root-Rot Triage : Is Your Plant Thirsty or Drowning ?
Before you repot or treat anything, do this quick check:
Step 1 : Feel soil moisture 2–3 inches down
Use a finger, wooden skewer, or chopstick.
- Dry at depth + plant drooping = likely underwatering
- Wet at depth + plant drooping = high suspicion of root stress/rot
Step 2 : Smell the potting mix
- Healthy soil smells earthy
- Rot-prone mix often smells sour, swampy, or “off”
Step 3 : Check how long the pot stays wet
If the pot is still wet several days after watering (especially in medium/low light), your plant is living in root-rot conditions even if it isn’t rotting yet.
Symptoms You Can See Above the Soil (Clues, Not Proof)
Root rot can look like :
- Wilting despite wet soil (classic sign: plant looks thirsty but soil is damp)
- Yellowing leaves, especially widespread yellowing rather than one old leaf at a time
- Leaf drop that feels “sudden” or relentless
- Stunted growth or no new growth during active season
- Brown/black patches that spread, especially if stems near soil line soften
- Fungus gnats hovering around the pot (a moisture warning sign; not proof of rot but often related)
Because these symptoms overlap with other problems, don’t diagnose from leaves alone.
How to Confirm Root Rot (The Only Reliable Method)
You confirm root rot by inspecting roots.
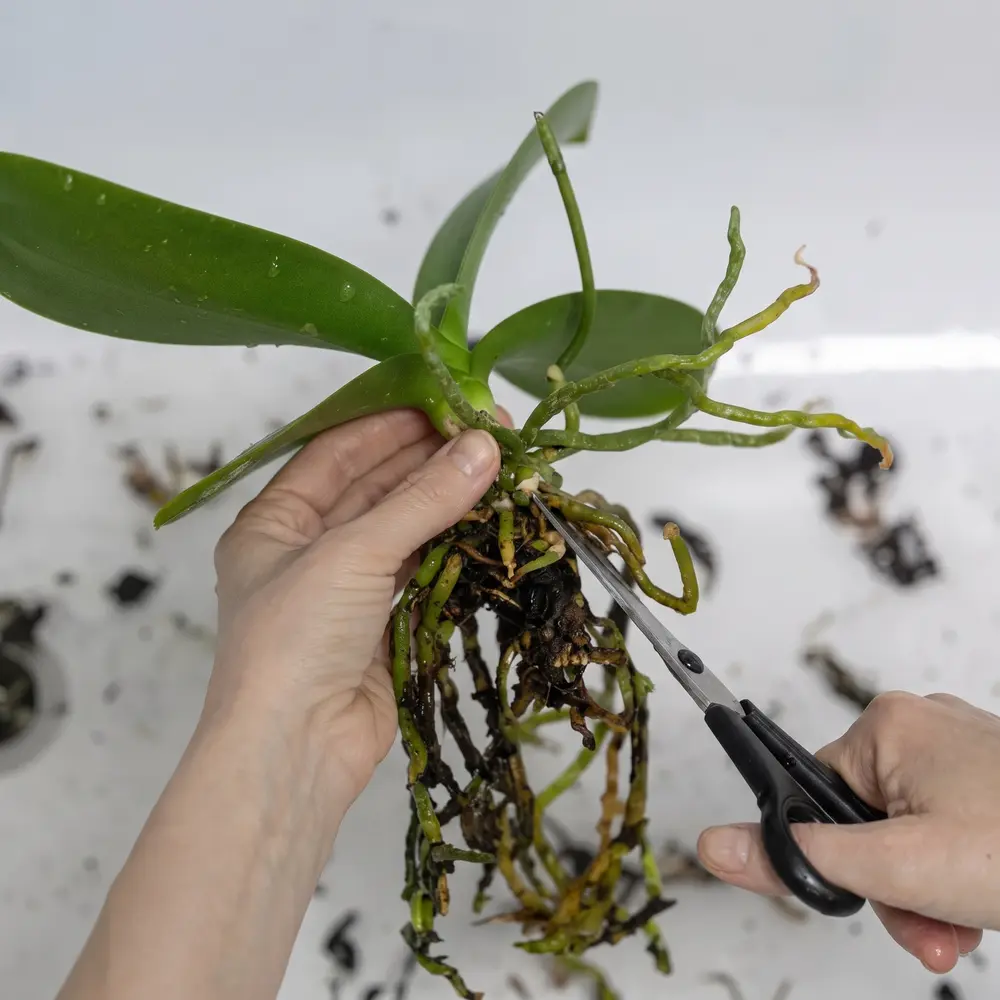
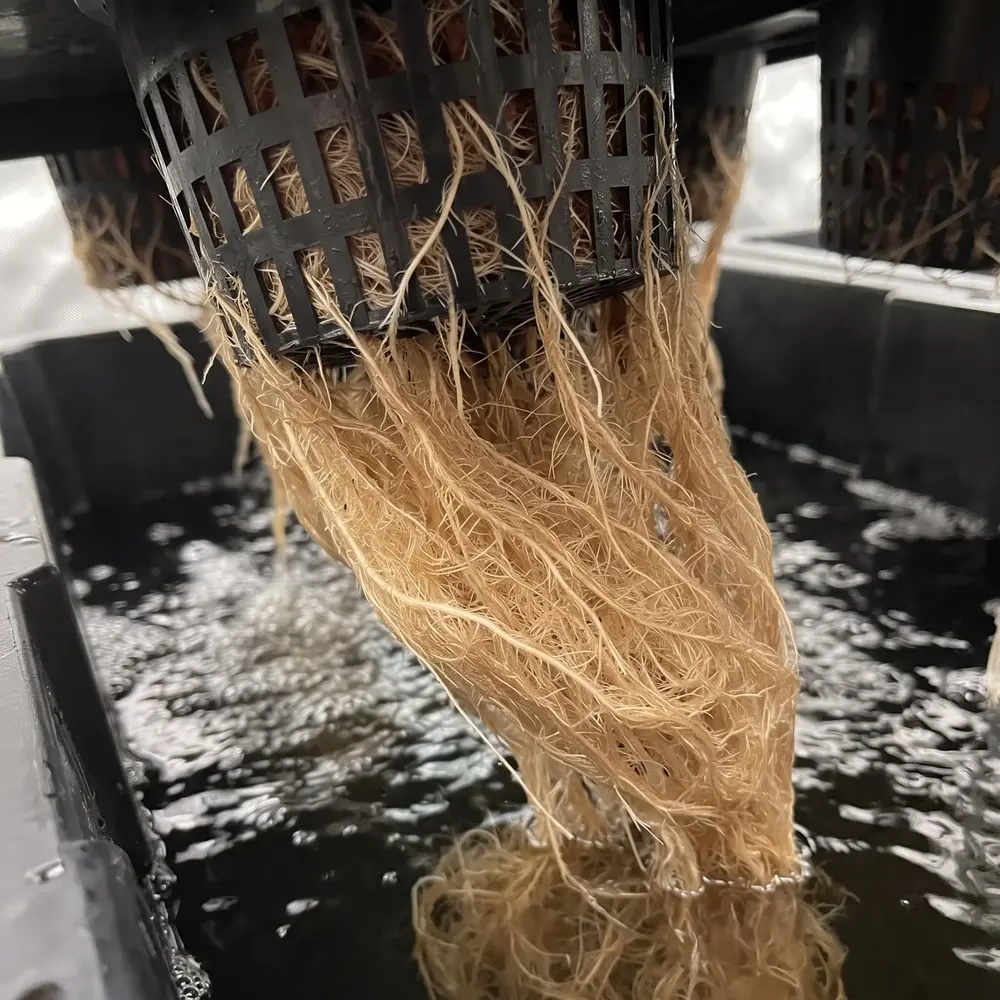
What healthy roots look/feel like
- Firm, springy
- Light-colored (white/cream/tan depending on plant)
- Smell neutral/earthy
What rotted roots look/feel like
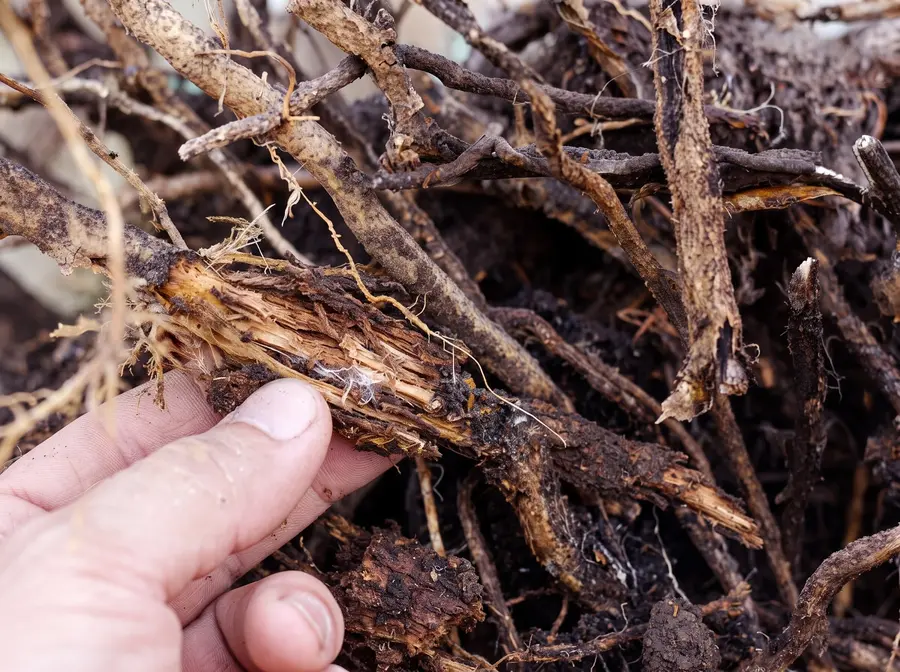
- Brown to black
- Soft, mushy, hollow, or stringy
- Outer sheath may slide off, leaving a thin “wire” root core
- Often a foul odor
Tip : If you’re nervous about unpotting, start by sliding the plant out just an inch or two to inspect roots at the pot edge and bottom.
Root Rot Causes (Why It Keeps Returning)
Most repeat cases come from one or more of these :
- Oversized pot (too much wet mix around a small root system)
- No drainage hole or trapped water in a cachepot/saucer
- Dense, water-retentive mix that compacts over time
- Low light (plant uses less water, soil dries slowly)
- Watering by routine instead of checking soil at depth
- Cold conditions (roots slow down; soil stays wet longer)
- Root damage from earlier stress (overfertilizing, heat/cold shock, pests), making infection easier
Treatment : Step-by-Step Rescue (Based on Severity)
Root rot isn’t “reversible” The goal is to remove dying tissue and rebuild conditions where new roots can form.
Before you start (do this first)
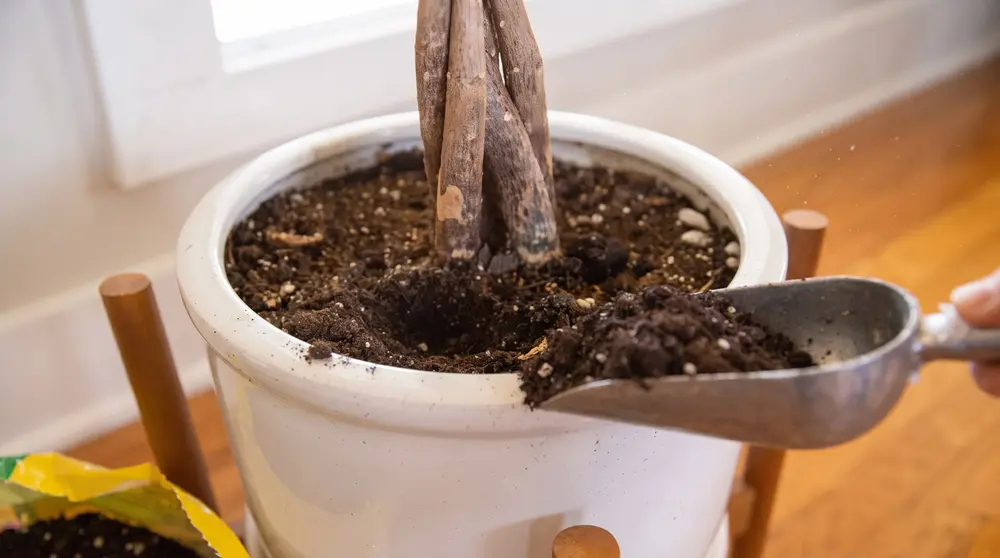
- Prepare fresh mix and a clean pot with drainage
- Sterilize scissors/pruners (soap + hot water, or alcohol wipe)
- Plan to work quickly so roots aren’t exposed too long
Mild Case (some rot, plenty of healthy roots)
You’ll see : a few mushy roots, but many firm roots remain.
Rescue steps
- Unpot plant and gently remove loose wet soil.
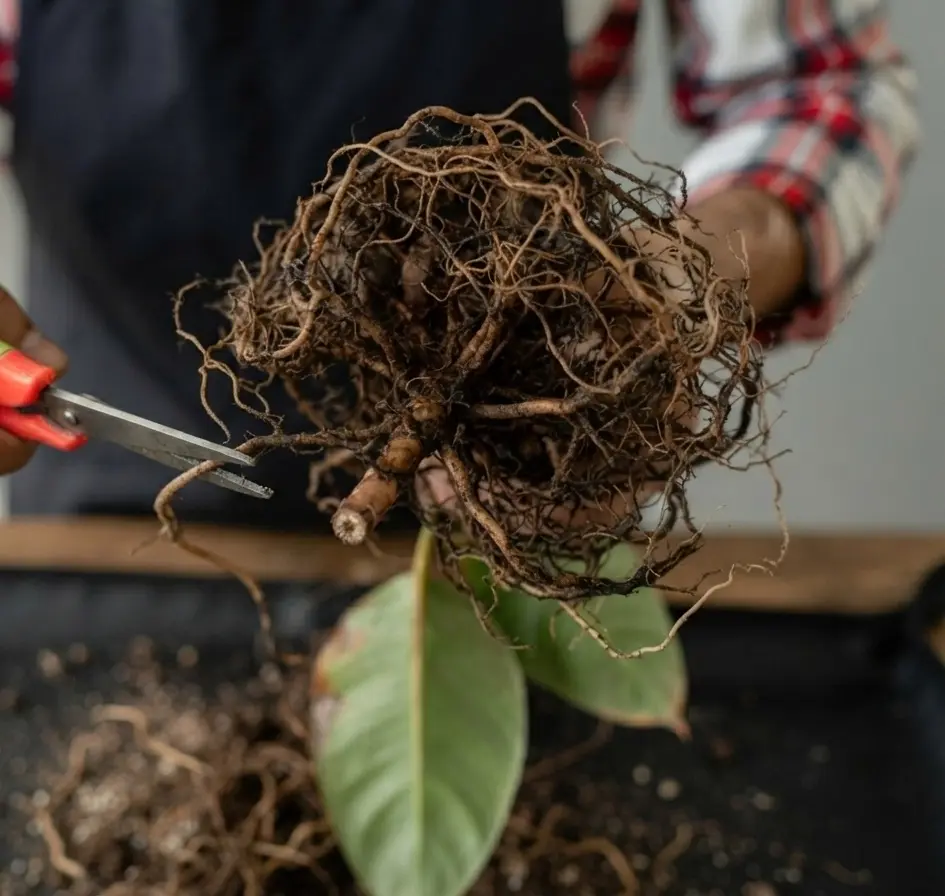
- Trim only clearly rotted roots back to firm tissue.
- Repot into fresh, airy mix in the same pot size or slightly smaller (if root mass is reduced).
- Water lightly to settle, then let the mix dry appropriately before watering again.
Goal : stabilize fast with minimal additional stress.
Moderate Case (significant rot, plant declining)
You’ll see : many dark/mushy roots, but a decent core of healthy roots remains.
Rescue steps
- Remove most old mix from roots. If necessary, rinse roots gently so you can see what to cut.
- Prune all rotted roots; don’t “leave a little” behind. Rot spreads.
- Optional support: dusting cuts with a biofungicide (e.g., beneficial microbes such as Trichoderma or Bacillus products) can help in some setups.
- Repot into a smaller pot that matches the remaining root system.
- Reduce top growth slightly if the plant is large and roots are now limited (this lowers water demand while roots regrow).
- Place plant in bright, stable light (not harsh direct sun unless it’s a sun plant).
Severe Case (most roots rotted)
You’ll see : very few firm roots, mushy crown/stem base, strong odor, rapid collapse.
Options
- Try a “last-chance” rescue : cut away all rot, repot very small, keep warm and bright, water sparingly.
- Switch to propagation : take healthy cuttings above the rot line (often the best success rate for pothos, philodendron, tradescantia, some begonias).
- Accept loss: if the crown is rotting and no viable tissue remains, recovery is unlikely.
Aftercare : The 30-Day Recovery Plan (Where Most Rescues Fail)
Root rot rescues often fail after repotting due to overwatering again.
Week 1 : Stabilize
- Keep in bright indirect light (or appropriate light for the species).
- Avoid drafts and temperature swings.
- Water only when the mix reaches the plant’s normal “dry point.” Many recovering plants need less water than before.
Weeks 2–3 : Watch for new growth
- Don’t fertilize yet. New mix plus damaged roots is a recipe for burn.
- Look for signs of recovery: firmer posture, new leaves, new root tips (if visible).
Weeks 3–4 : Resume gentle feeding (only if recovering)
- Use a diluted fertilizer (often half strength) during active growth seasons.
- If there’s no improvement, reassess: light level, pot size, mix drainage, and whether rot remained.
Prevention : A “No-Root-Rot” System That Works
1) Pot size rule (most important)
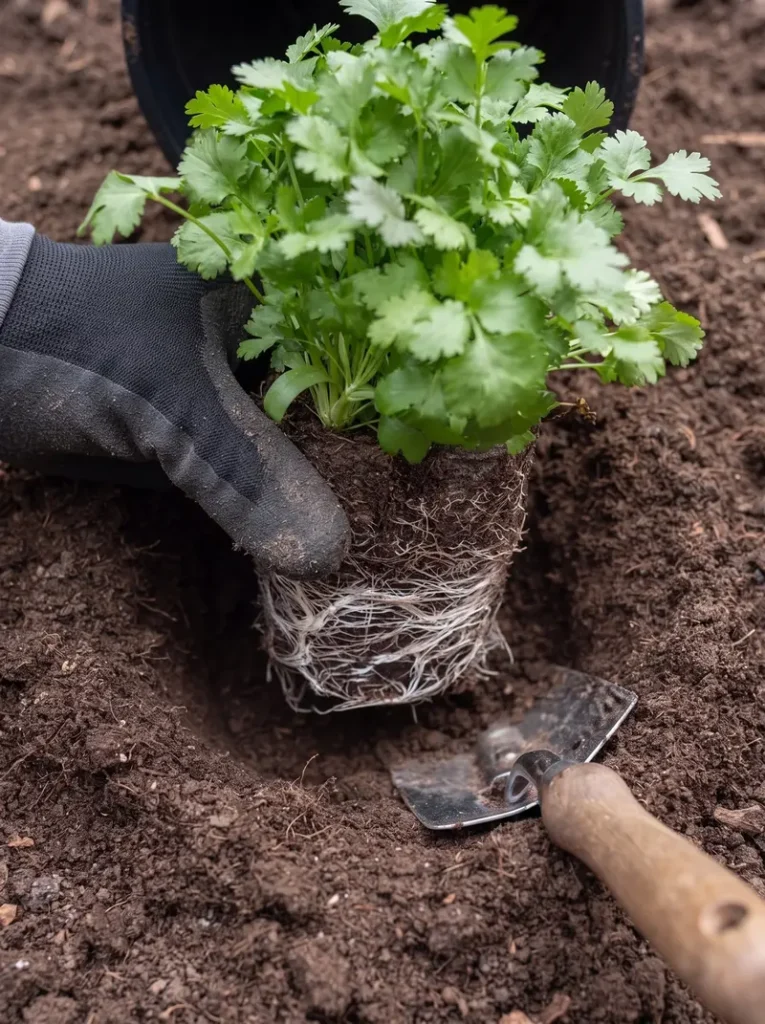
Choose a pot that fits the root ball with only a small margin. Too much extra soil stays wet too long.
2) Use a mix that matches the plant
- Aroids (monstera/philodendron) : chunkier mix (bark + perlite/pumice + coco/peat)
- Succulents/cacti : gritty, fast-draining mix; water only after full dry-down
- Moisture lovers (ferns/calathea) : still needs drainage and airflow—moist doesn’t mean soggy
3) Water by soil condition, not by schedule
- Check moisture at depth before watering.
- Water thoroughly, let drain completely, then empty saucers/cachepots.
4) Light is part of watering
Low light = slower drying = less frequent watering. Many “overwatering” cases are really low-light + normal watering.
5) Replace tired, compacted soil
Potting mix breaks down over time and holds more water. Refreshing mix periodically prevents the slow creep into soggy conditions.
FAQs
Can a plant recover from root rot ?
Yes if enough healthy root tissue remains (or if the plant can be propagated). Recovery is judged by new growth, not by saving every old leaf.
Should I use hydrogen peroxide or cinnamon ?
Some home remedies are popular, but results vary and misuse can stress roots further. The most consistently effective treatment is still: remove rot + fresh airy mix + correct watering.
Why did my plant rot even though I “didn’t water much” ?
Common reasons:
- Pot too large
- No drainage / water trapped in a cachepot
- Soil compacted and staying wet
- Light too low for the plant to use water
- Cool temperatures slowing evaporation and root activity
When can I fertilize after a root-rot repot ?
Typically 3–4 weeks, once you see recovery and the plant is back to active growth.