How to Repot a Houseplant Without Killing It : A Low-Stress, Pro-Level Method (Plus Aftercare That Actually Works)
By Ashley Chalmers | Published on July 28, 2026
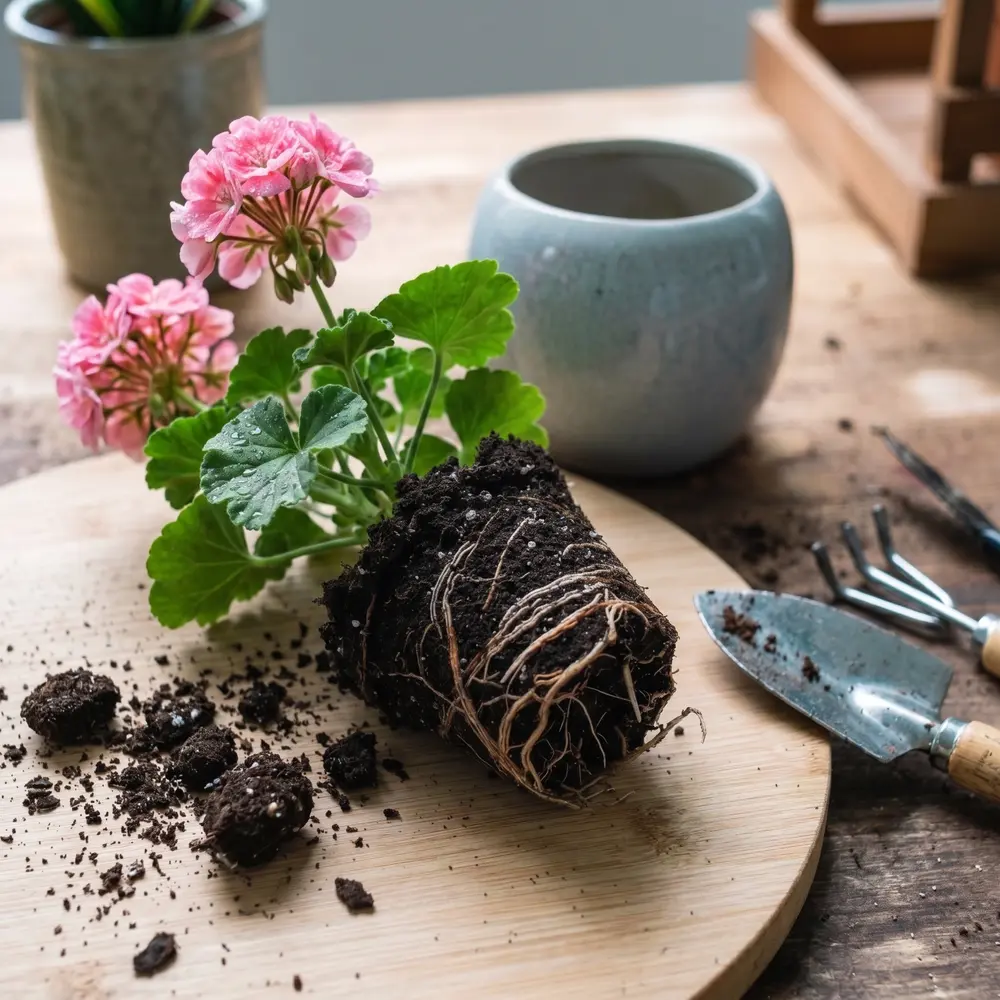
Key Takeaways
- The safest repot is often a “pot-up”: move the plant to a slightly larger pot with minimal root disturbance. Full soil replacement is useful—but higher risk.
- Pot size and soil choice matter more than technique. Oversized pots and water-retentive mixes are the fastest route to root rot after repotting.
- Expect old leaves to sulk; judge success by new growth after recovery. Hold fertilizer for 2–4 weeks unless you’re using a very mild, balanced approach.
In This Article
Repotting vs Potting Up : Choose the Safer Option
Before you start, decide which job you’re doing :
Potting Up (lower risk)
You keep most of the root ball intact and place it into a pot 1 size larger, filling around it with fresh mix.
Best for : healthy plants that simply outgrew their pot.
Full Repot (higher risk)
You remove a significant amount of old soil, tease roots, and replace with fresh mix.
Best for :
- Soil that stays wet too long / has gone hydrophobic
- Salt buildup (white crust, crispy tips despite good watering)
- Fungus gnat-infested, sour-smelling, compacted soil
- Suspected disease, pests in soil, or root rot
If your plant is healthy and just cramped, pot up. It’s the “don’t kill it” choice.
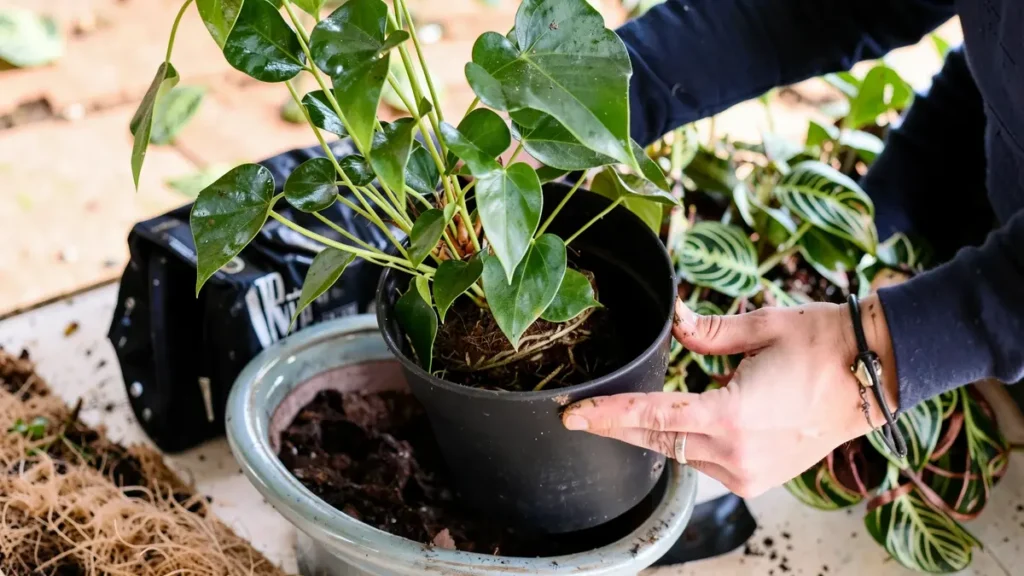
When a Plant Truly Needs Repotting (and When It Doesn’t)
Strong signs you should repot
- Roots circling densely at the bottom or pushing the plant upward
- Water runs straight through (root ball is too dense or soil is degraded)
- Plant dries out unusually fast (very rootbound)
- Growth stalls during active season despite proper light and feeding
- Soil smells stale/sour, stays wet too long, or shrinks away from the pot edges
When you can skip repotting (for now)
- Plant is stable but “a little slow” in winter (dormancy is real)
- You only need a nutrient boost → top-dress with compost/worm castings (where appropriate) or resume feeding in season
- Plant is huge and hard to handle → often you can top-dress, prune, and refresh the top few inches instead
Best timing : early to mid-growing season (often spring). Avoid major repots during dormancy unless it’s an emergency (like rot).
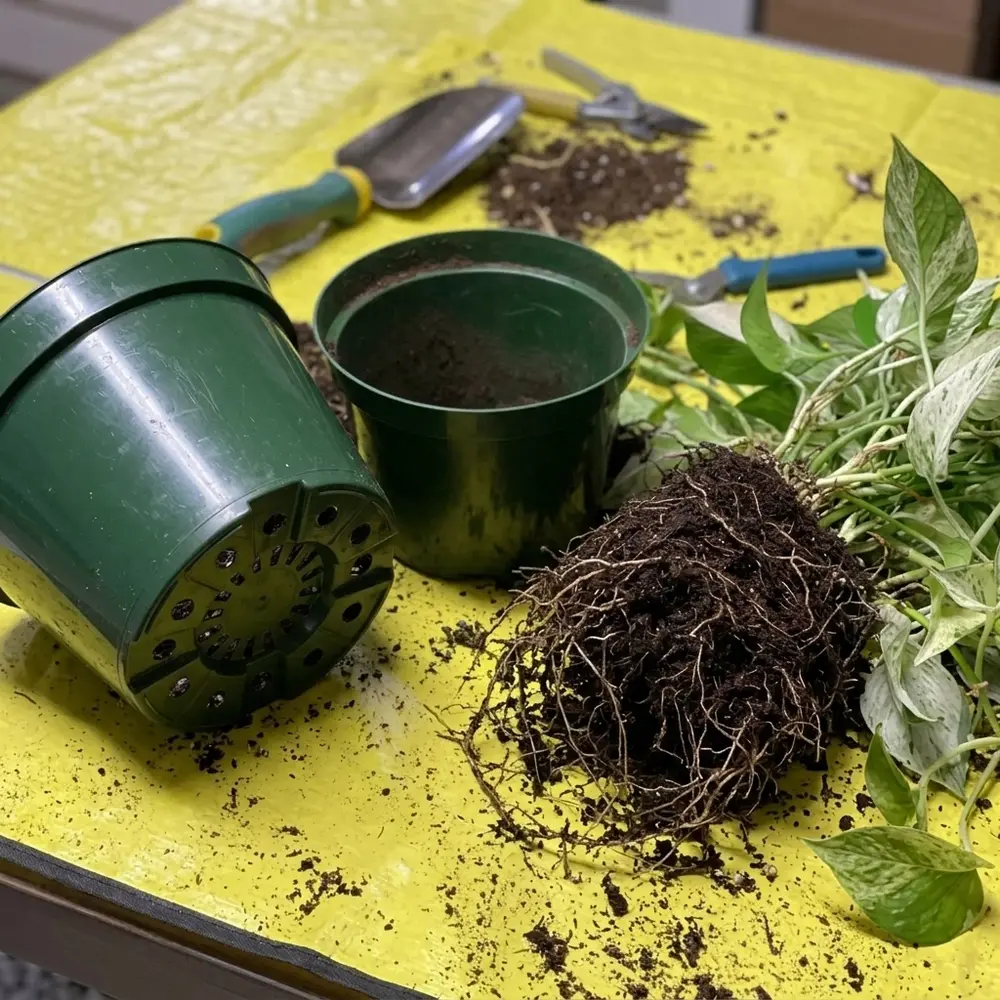
The No-Shock Repotting Method (Step-by-Step)
Supplies
- New pot with drainage holes (usually 1–2 inches wider than the old one)
- Fresh mix suited to the plant (don’t default to “all-purpose” for everything)
- Clean snips/scissors
- Gloves (optional)
- A tray or tarp
Step 1 : Water strategically (12–24 hours before)
Lightly moist soil slides out more cleanly and reduces root breakage.
Exception: if you suspect root rot, keep soil on the drier side before removal so it doesn’t smear and tear roots.
Step 2 : Choose the right pot size (this prevents rot)
- Go one size up for most houseplants.
- Too large = too much wet soil around roots = slow drying = rot risk.
Step 3 : Skip the drainage “layer” myth
Do not add a thick layer of rocks at the bottom to “improve drainage.” It often creates a perched wet zone where roots stay wetter longer.
Instead, improve drainage by using :
- A better-draining mix
- A pot with proper holes
- The right pot size
(Using mesh over holes is fine if it prevents soil loss.)
Step 4 : Slide the plant out without yanking
- Tip the pot on its side, support the plant at the base, and ease it out.
- If stuck: squeeze plastic pots, or run a dull knife around the inside edge.
Step 5 : Inspect roots like a pro
Healthy roots are typically firm and light-colored (white, tan, pale).
Warning signs:
- Dark, mushy roots
- Sour smell
- Roots that pull apart like wet threads
Step 6 : Decide: pot-up or full repot
- Healthy roots + just cramped : minimal teasing, then pot-up.
- Soil problems or pests : remove more old mix and refresh thoroughly.
Step 7 : Handle roots gently (less is more)
For most houseplants:
- Loosen only the outer 10–20% of the root ball if it’s circling.
- If it’s severely rootbound, make a few vertical scores on the outer root mat (not a full shredding). This encourages new outward rooting without massive shock.
Step 8 : Set the correct planting height
Keep the plant at the same level as before. Burying stems deeper can cause rot in many species.
Step 9 : Backfill with the right mix (don’t pack it tight)
Fill around the root ball, then gently tap the pot to settle soil. Avoid compressing heavily roots need oxygen.
Step 10 : Water once to settle (then adjust)
Water enough to settle the mix and remove air pockets, then let it drain fully.
After that, your next watering depends on the plant type and mix—don’t automatically return to the old schedule.
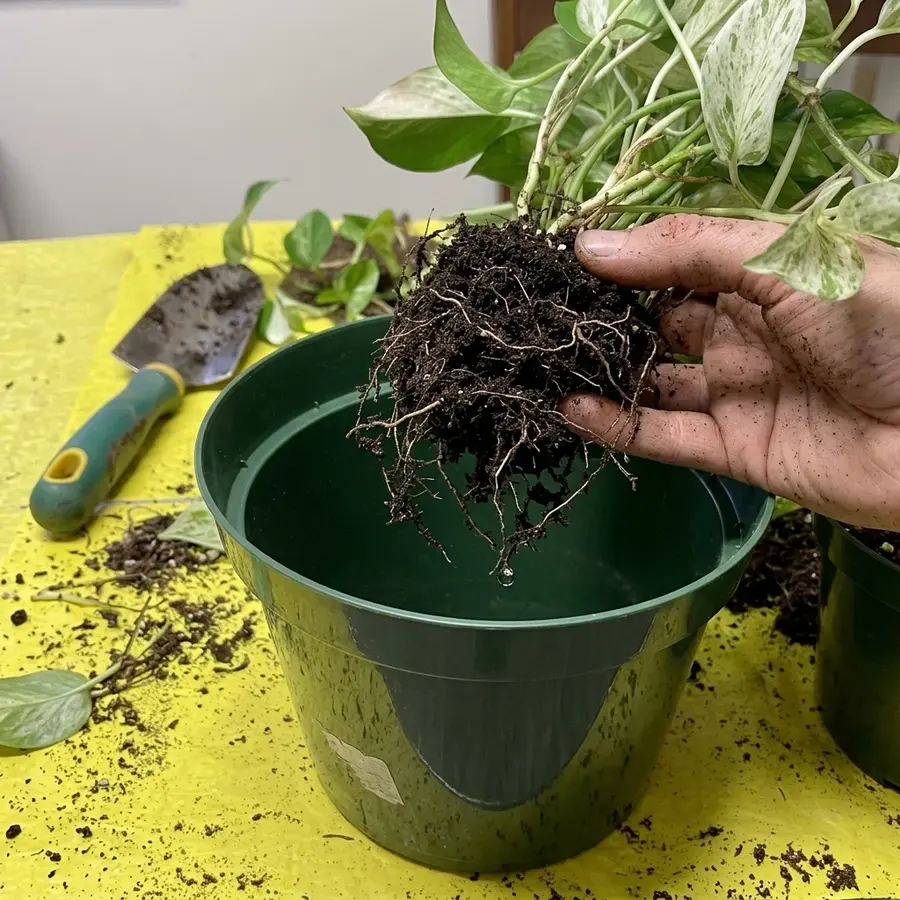
Rootbound Plants : What to Do (Without Going Too Far)
If roots are circling tightly :
- Tease the bottom lightly and loosen the outer ring.
- Trim only obviously dead roots.
- Avoid aggressive root pruning unless the plant is known to tolerate it well and you’re correcting a severe issue.
Rule of thumb : the more root disturbance you do, the more you must baby the plant afterward (stable light, careful watering, no fertilizer).
If You Suspect Root Rot: The Emergency Repot
This is the one time speed and decisiveness matter.
- Remove plant and wash/brush away wet soil so you can see roots.
- Sterilize snips, then cut all mushy/dark roots back to firm tissue.
- If rot is advanced, consider trimming some top growth to rebalance root-to-leaf load.
- Repot into a fresh, airy mix and a pot size close to the remaining root mass.
- Water lightly. Then wait—overwatering after rot is a common relapse.
Aftercare Timeline (What to Do in the First 30 Days)
First 24–48 hours
- Put the plant in stable, moderate light (avoid harsh direct sun unless it’s a true high-light plant already adapted).
- Avoid drafts, heat vents, and cold windows at night.
- Don’t fuss. Constant moving is stress.
Week 1–2
- Water only when the mix reaches the plant’s normal “dry point.” Many repotted plants need less frequent watering initially because root uptake is temporarily reduced.
- Expect mild droop or a few yellow leaves—watch for improvement, not perfection.
Week 3–4
- If you see signs of recovery (new leaves, firmer posture), you can resume feeding at reduced strength.
- If growth is still stalled, reassess light and watering—not fertilizer.
Common Mistakes (and Quick Fixes)
- Pot too big : downsize or use a chunkier, faster-draining mix.
- Dense soil for aroids/succulents : upgrade the mix with aeration components (perlite/pumice/bark depending on plant).
- Packing soil tight: repot again only if severe; otherwise let it be and water carefully.
- Immediate fertilizer : wait 2–4 weeks; fresh mix often contains nutrients already.
- Moving to brighter sun right away : acclimate over 7–10 days to prevent scorch.
FAQs
Should I water immediately after repotting ?
Usually yes once to settle soil then adjust your schedule based on how fast the new mix dries. For succulents/cacti, many growers wait a few days, especially if roots were disturbed.
How much bigger should the new pot be ?
For most houseplants, go 1 size up (about 1–2 inches wider). Oversizing is a top cause of post-repot decline.
Why is my plant drooping after repotting ?
Minor transplant shock is normal. The big causes are: root disturbance, sudden light change, and overwatering in a larger soil volume. Keep conditions stable and avoid overwatering.
When can I fertilize again ?
Commonly after 2–4 weeks, once you see recovery or new growth. Earlier feeding can stress recovering roots.